How to develop colour negative film at home
A short introduction to C-41 processing, temperature control, and the things to prepare before opening your first kit.
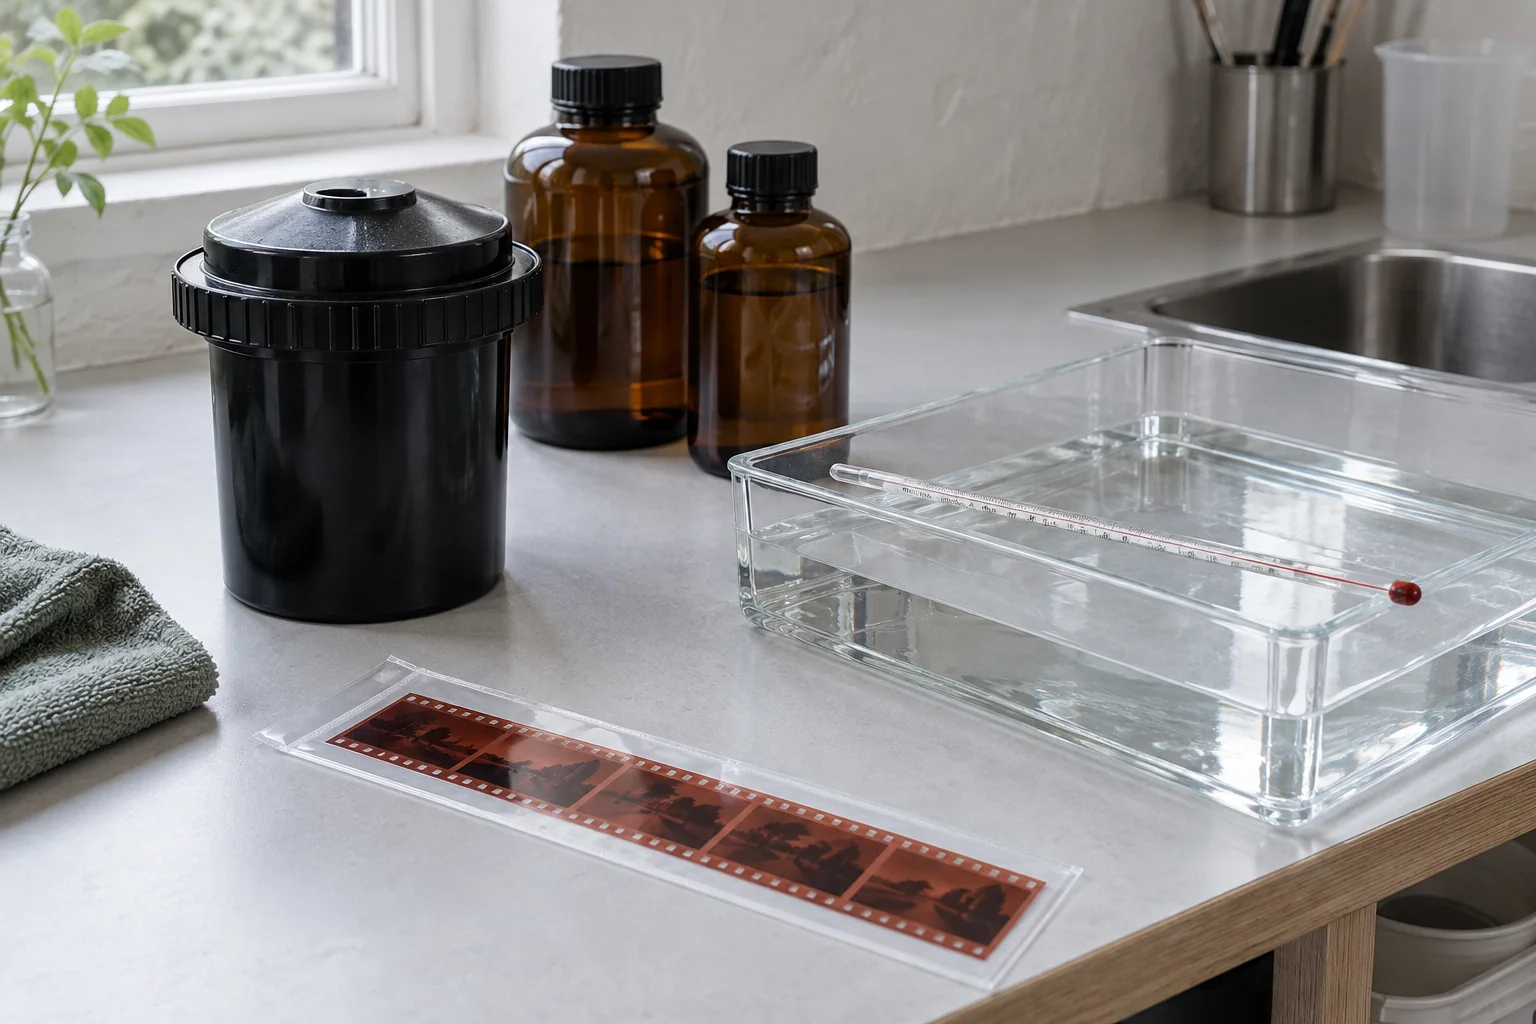
For your first colour roll, a lab is a convenient starting point. If you want to develop it yourself, choose a kit that matches the process printed on the film box and read the whole instruction sheet before mixing anything.
Check for C-41 on the box
C-41 is the process for standard colour negative film. It also handles certain chromogenic black-and-white films. A C-41 kit is intended for compatible film, as the Kodak kit instructions explain. Slide film needs its specified reversal process.
Prepare the workspace
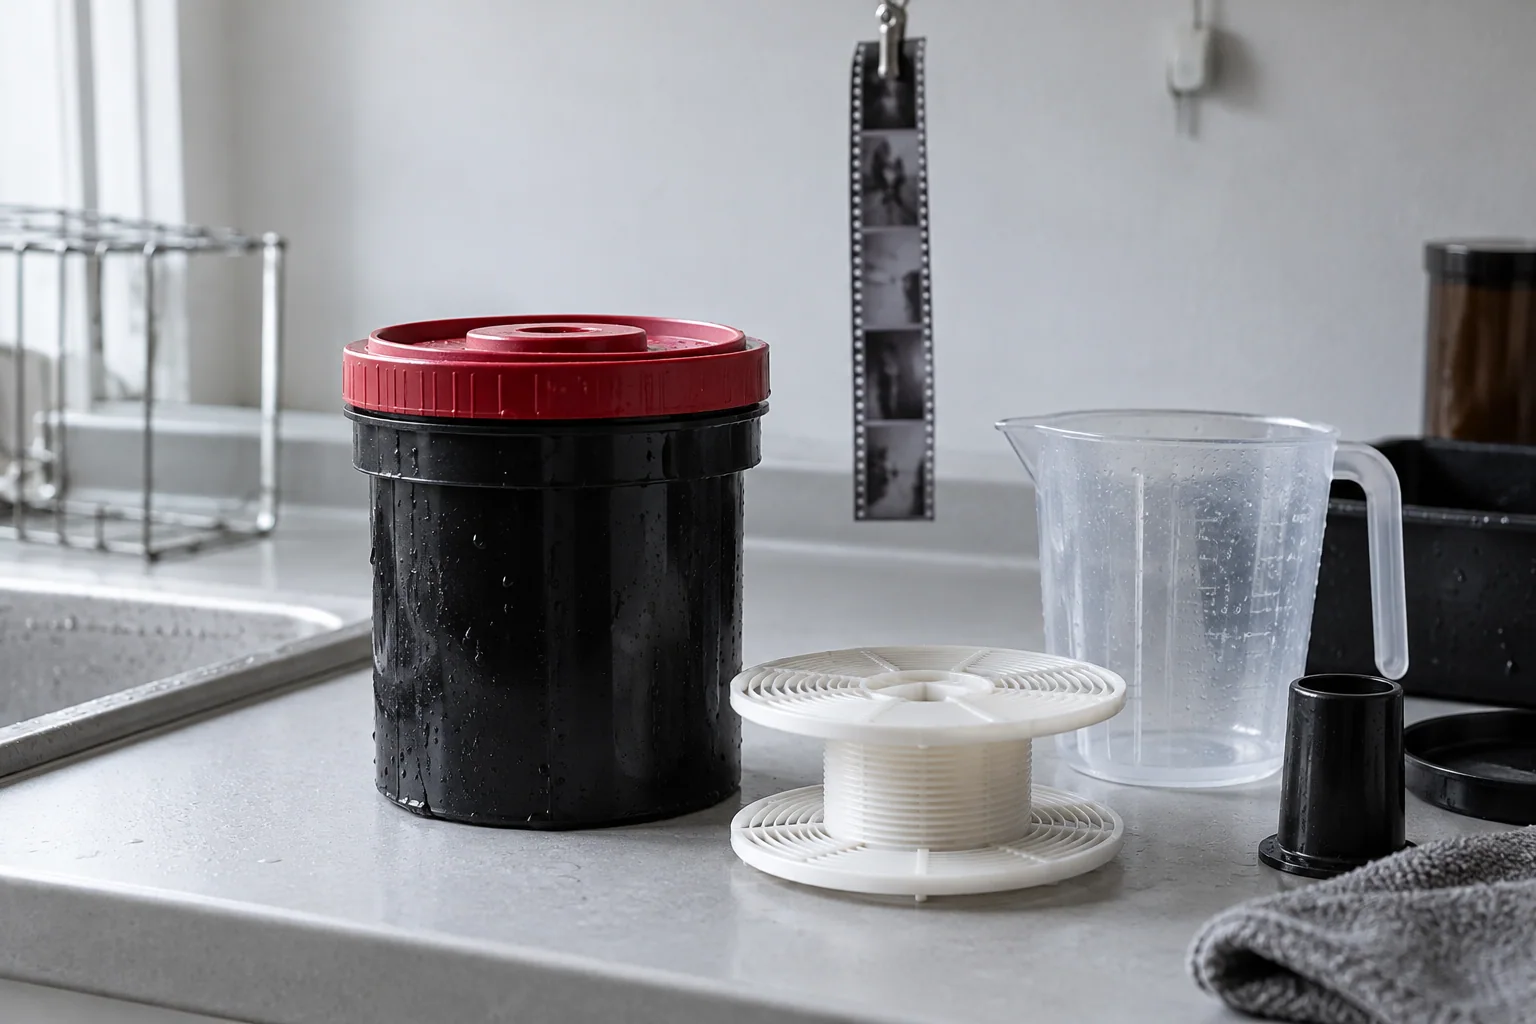
A daylight developing tank, reel and changing bag do the same jobs as they do for black-and-white processing. Load unprocessed film in complete darkness. A closed, correctly assembled tank lets you carry out the wet stages in the light.
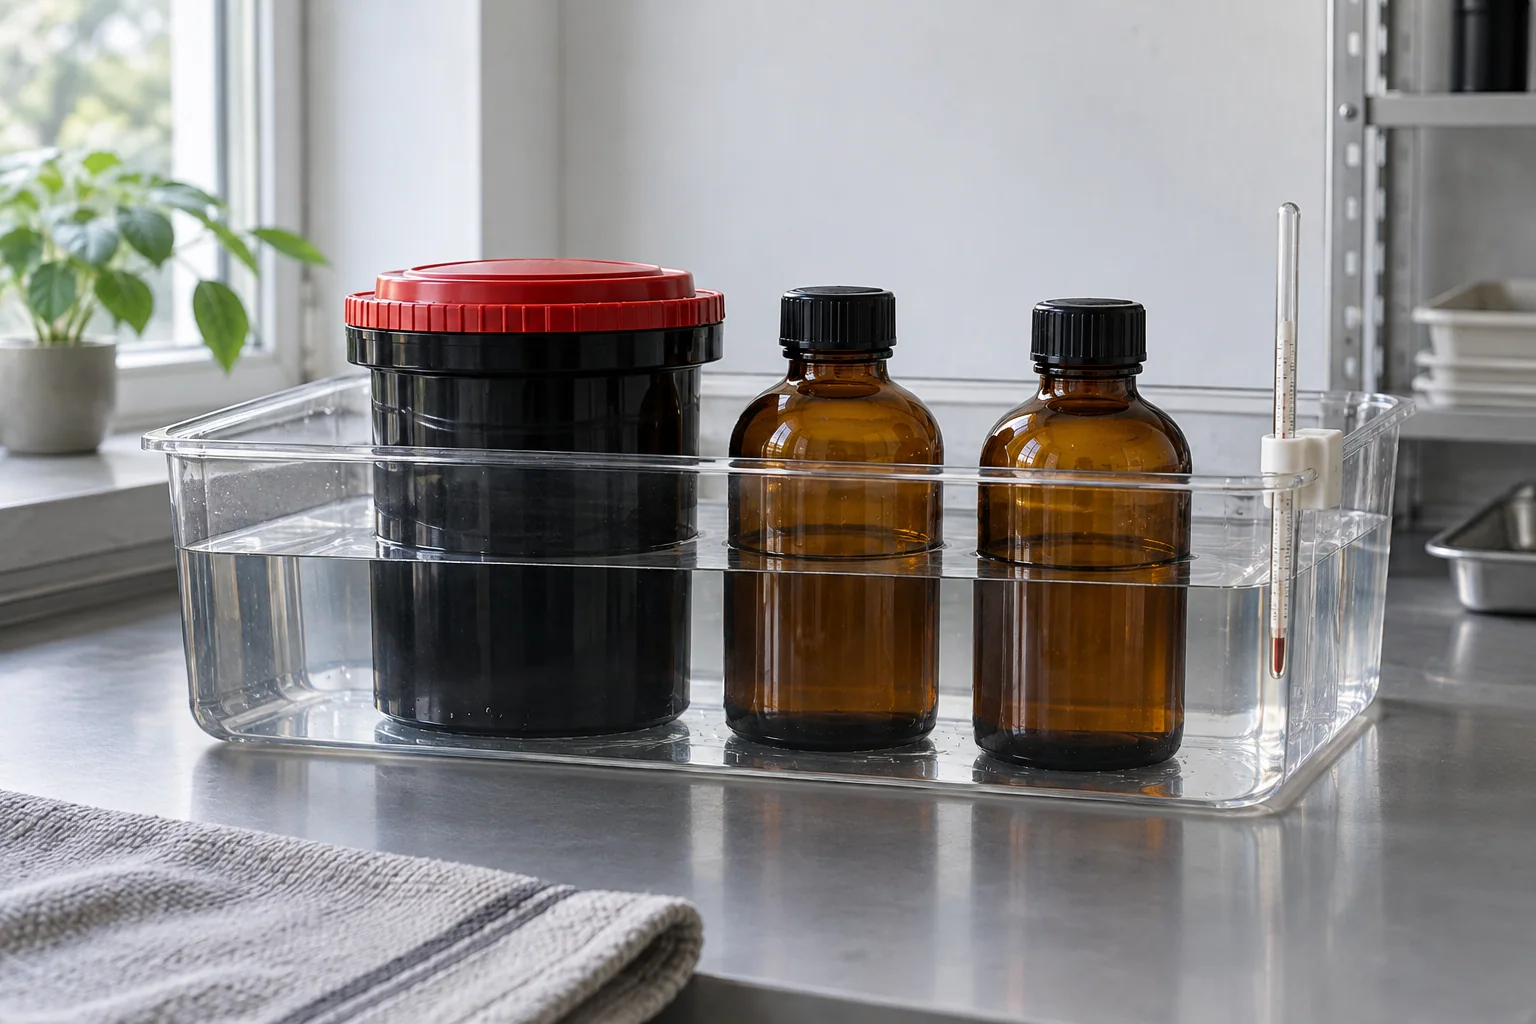
You’ll also need labelled chemical bottles, accurate measuring containers, a timer and a thermometer. A water bath helps hold the working temperature steady. Use the protection and ventilation specified by the kit’s safety sheets.
Follow your kit’s sequence
- Mix each solution using its own measurements, and prepare the required temperature.
- Load the film in darkness and seal the tank.
- Warm the tank and solutions as the kit instructs, then develop for its specified time and agitation pattern.
- Carry out bleaching and fixing, with the washes and final rinse in the right places.
- Hang the film to dry, then sleeve the dry negatives.
Some kits combine bleach and fixer into one bath. Kodak’s small-tank kit uses separate solutions, so a recipe from a different kit won’t necessarily match yours.
Pay attention to temperature and reuse
Kodak’s small-tank instructions specify a developer temperature of 37°C to 39°C. That range is an example for that kit. Use the temperature and timing supplied with the chemicals you buy.
Record when you mixed each solution and how many rolls it has processed. Storage life, capacity and any time adjustments belong to the kit’s instructions. Dispose of spent chemistry through the appropriate local route.
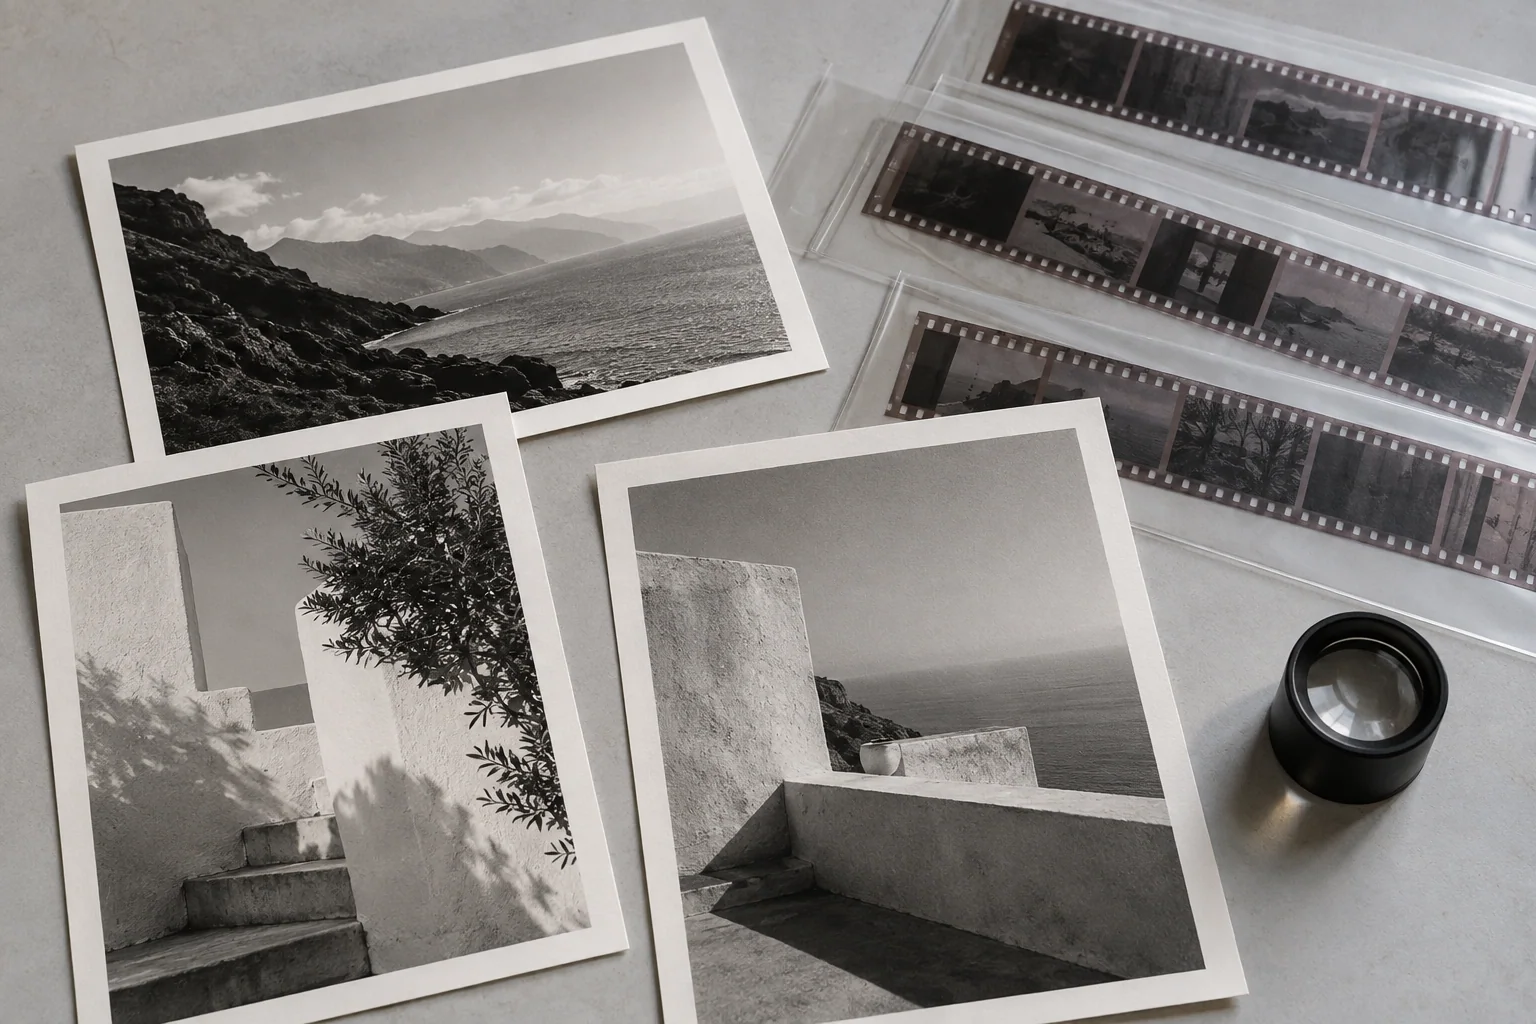
When the negatives are dry, you can scan them or make prints.