How to get photos and prints from film
Choose between lab scans, digital prints and a first black-and-white darkroom print, with a clear route from negative to photograph.
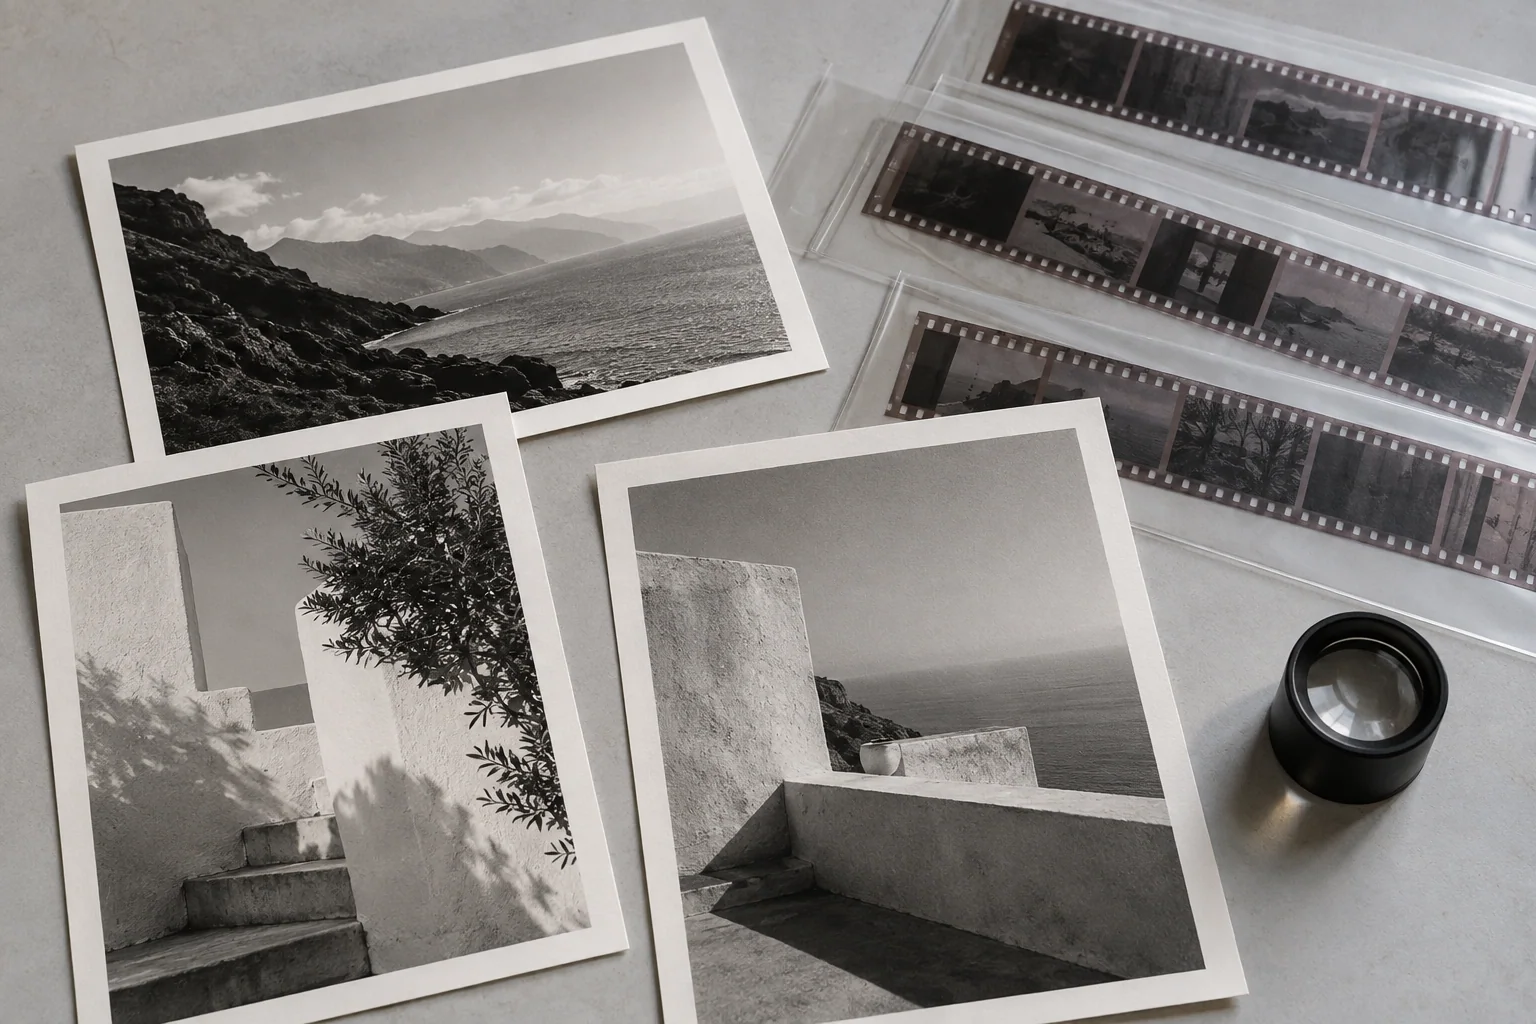
With negative film, development gives you the negatives. Scans or prints turn those negatives into pictures you can view and share. For a first roll, ask a lab for development and scans, then check whether you also want paper prints.
Ask the lab for what you need
Tell the lab the film type, and ask what its service includes. Development, scans and paper prints can be separate items. Check whether it returns your negatives and what file sizes it supplies.
If you’re planning a large print, mention its intended size before choosing a scan package. Keep the original files and negatives even if your first use is a small picture on your phone.
For black-and-white work, ILFORD’s beginner guide describes both commercial processing and darkroom printing options.
Print from a scan
A digital print starts with a scan of the developed negative. You can choose a favourite file and send it to a print service without setting up a darkroom. Look closely at the file first: a print makes dust and missed focus easier to notice.
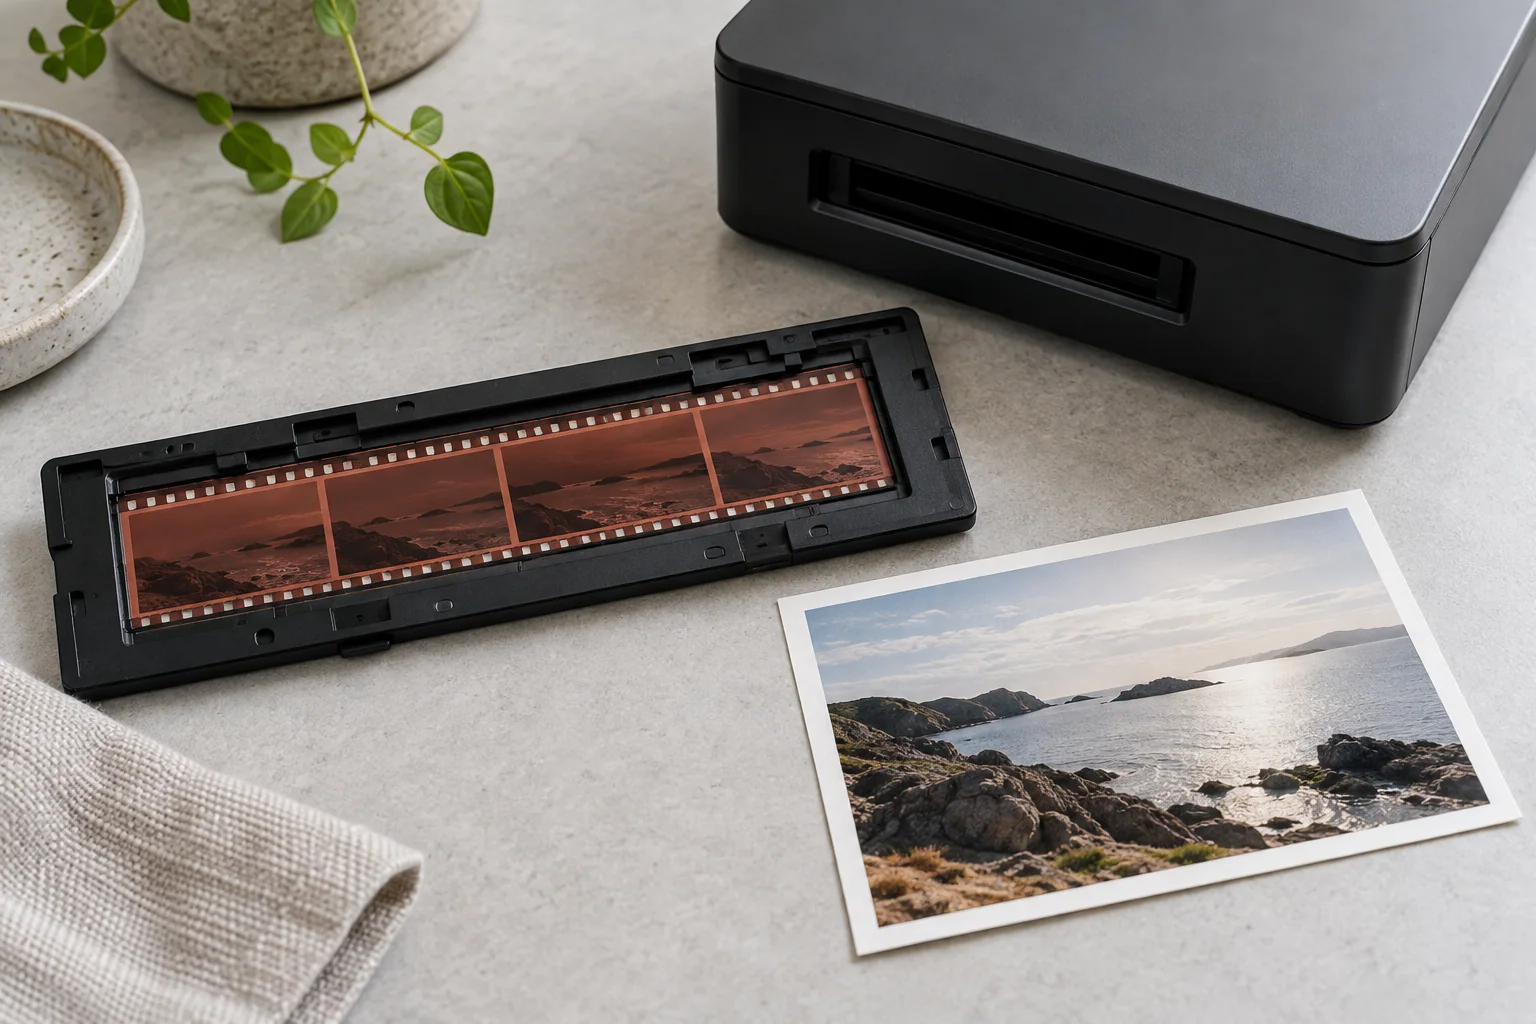
Ask the printer which file format and colour profile it expects. Those requirements vary, so use its instructions for the actual order.
Try a black-and-white darkroom print
You’ll need a developed negative, an enlarger, suitable photographic paper and paper-processing chemistry. Set up separate dry and wet areas, and use a safelight compatible with the paper. ILFORD’s darkroom guide explains the room and equipment.
Place the negative in the enlarger, focus the projected image, and make a test strip to choose the paper exposure. Then expose a full sheet and follow the paper developer, stop bath, fixer and washing instructions.
Resin-coated paper is a useful place to start. ILFORD’s preparation guide recommends it for beginners and links to its first-print instructions. Paper and film developers have different jobs, so check the labels when setting up your trays.
Keep a record of the print
Write down the negative frame, paper, exposure time and contrast setting. If you like the result, those notes make it easier to repeat it. Store the negative in a sleeve so you can come back to it later.