How to take better film photos: exposure and light
Get comfortable with shutter speed, aperture and film ISO, then use the light you have to make a clearer, more deliberate photograph.
Before adjusting the camera, look at the light on your subject. Is a face in shade while the background is in bright sun? Is someone moving quickly? Those observations help you decide which setting needs attention first.
Shutter speed handles time and movement
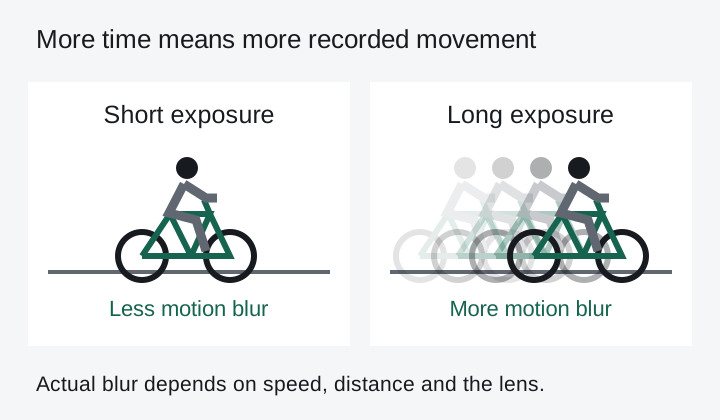
A faster shutter gives moving subjects less time to blur. For walking people, try 1/250 second as a starting point. Faster action may need 1/500 or 1/1000. The right speed depends on the movement, its direction and the lens.
A slow shutter can show movement on purpose, such as water flowing past a still bank. Support the camera when you want a stationary subject sharp. Nikon’s shutter-speed guide shows how changing the time changes the picture.
Aperture controls light through the lens
A small f-number, such as f/2, means a wider opening. A larger number, such as f/8, means a smaller opening. Moving from f/4 to f/5.6 cuts the light by one stop. You can balance it by changing 1/250 second to 1/125.
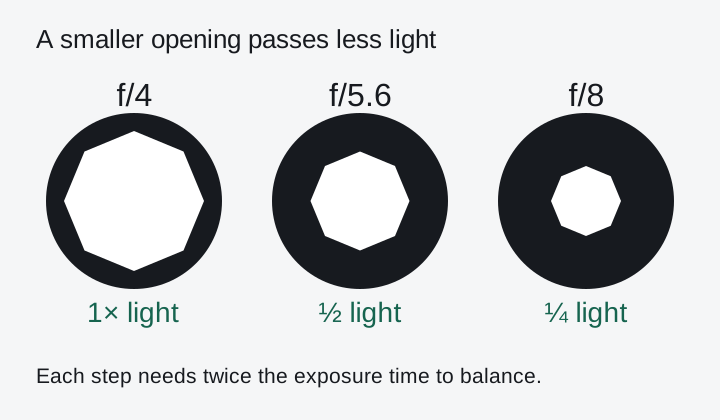
A wider aperture also gives you less depth of field at the same focus distance and focal length. Take care with focus when you want a person’s eye sharp and the background soft. For a group or a scene with several important distances, try stopping down and check whether the resulting shutter speed is still practical. Nikon’s aperture guide explains the effect on focus.
Film ISO stays with the roll
Choose the film speed before loading. Setting a higher ISO on the dial makes the meter recommend less exposure. It doesn’t make the film more sensitive. Nikon’s exposure explanation connects shutter speed, aperture and ISO.
Start at the box speed and use the meter. If the meter suggests a shutter speed too slow for your subject, open the aperture, add suitable light, or save the shot for better conditions.
Put the light to work
For an indoor portrait, try a window and turn off overhead lights so you can see what the window alone is doing. This is a suggestion in Nikon’s guide to light and shadow. Check the meter with the subject’s face in the light you’ll photograph.
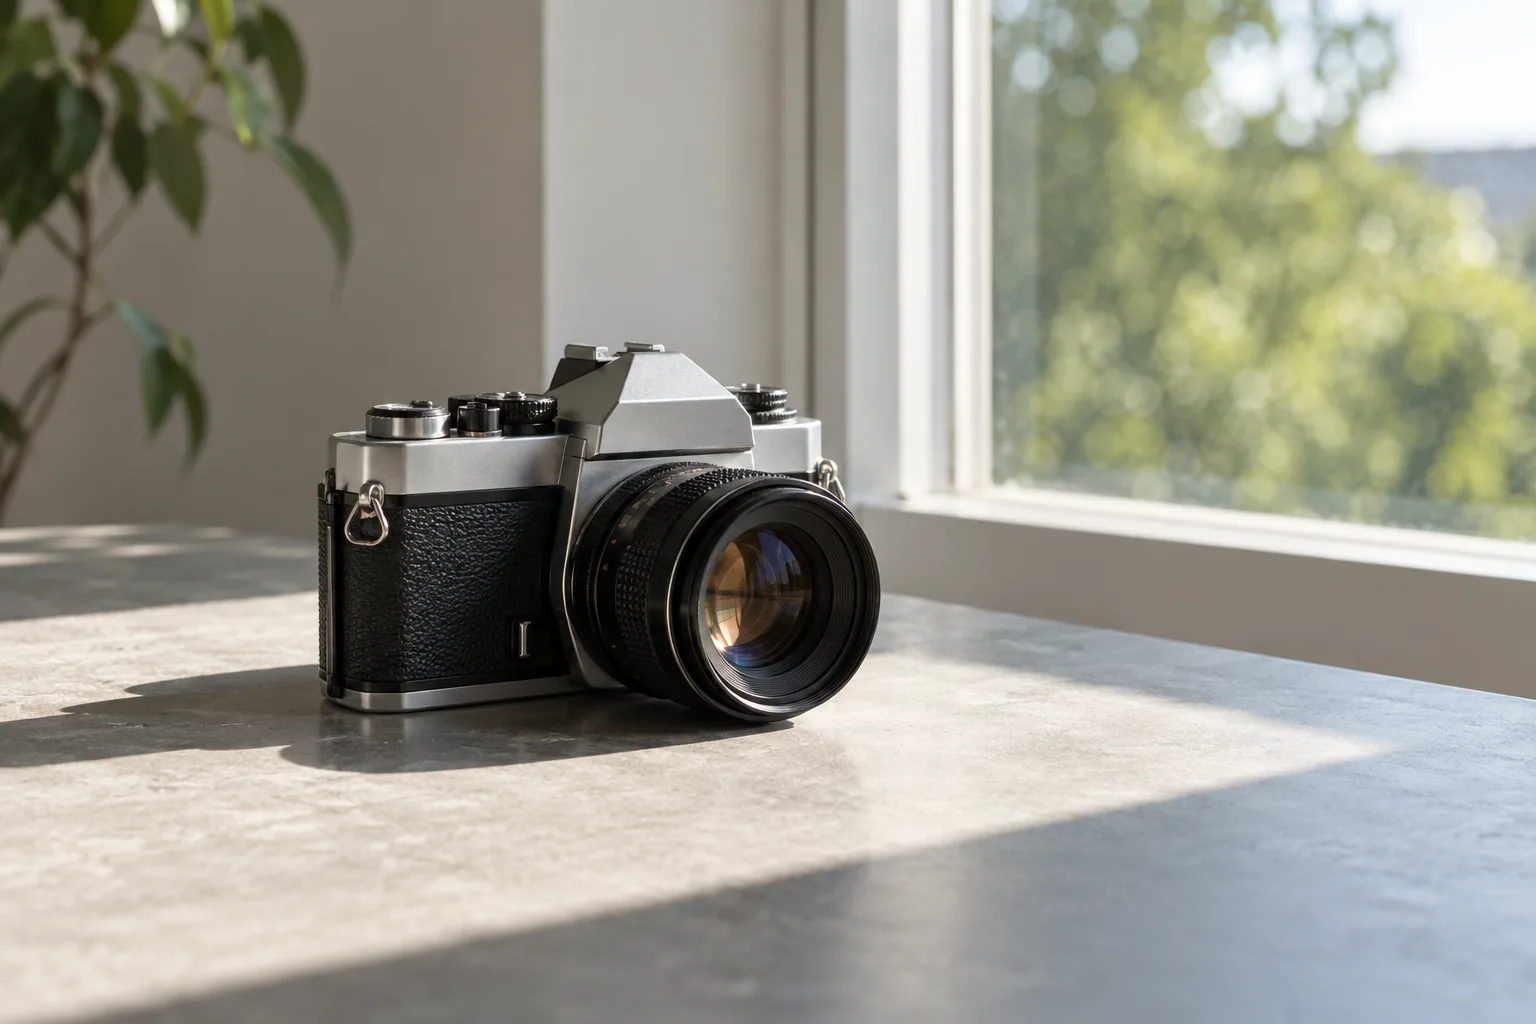
Watch what happens as you move around the subject. Side light can reveal texture. A small change of position can also remove a distracting bright patch from the background.
For one roll, jot down the settings for a few frames. Change one thing at a time and compare the results with our sample photographs. You’ll have a better idea of which choices you want to repeat.