How to choose the right film speed
ISO 100, 400 or 800? Pick a film speed that suits the light, your camera, and the pictures you want to take.
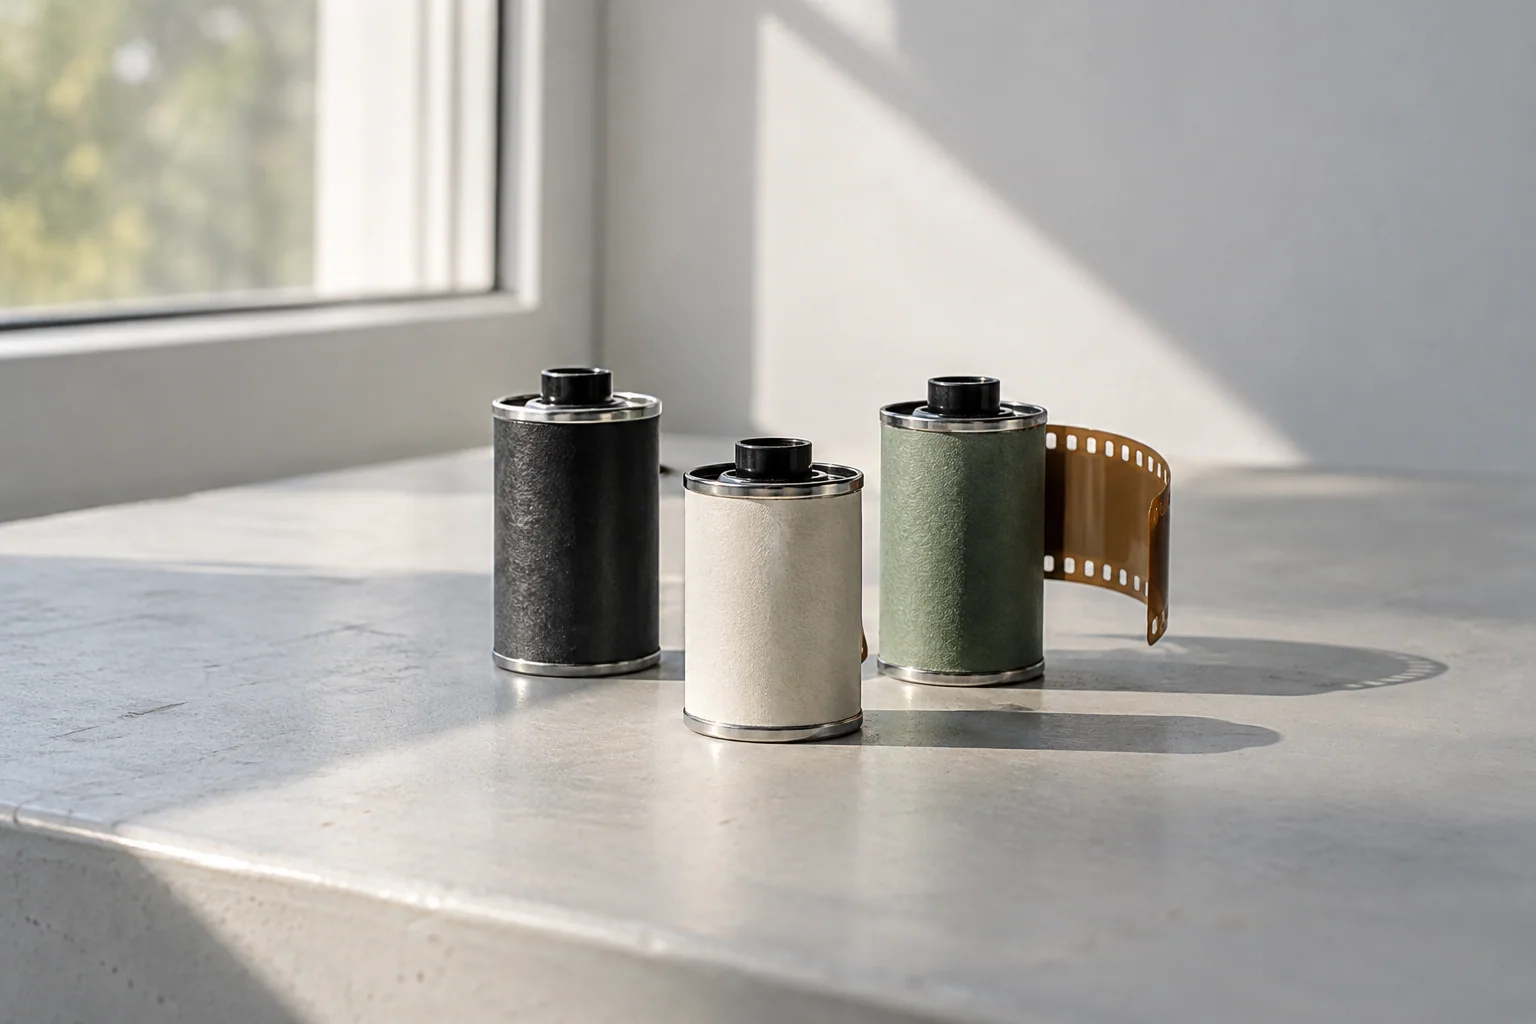
A roll of ISO 400 is a sensible place to start if you’ll be out walking, moving between sun and shade. It gives you more room to keep the shutter speed up than ISO 100. For a bright afternoon with plenty of light, a slower film can work well too.
What the number means
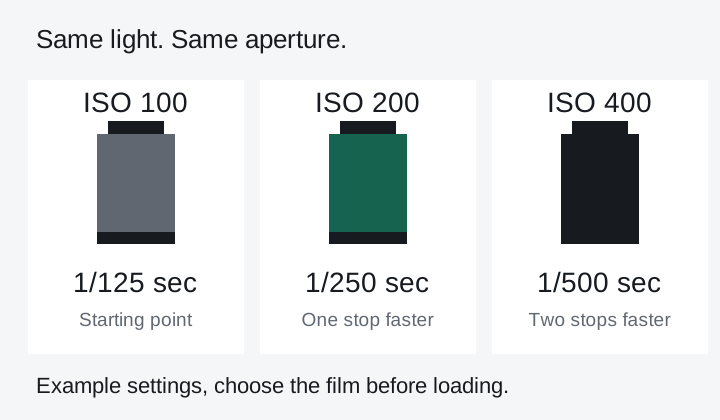
ISO describes a film’s sensitivity to light. Doubling it from 200 to 400 means you need half as much light for the same exposure. You can use that difference for a faster shutter speed or a smaller aperture. Nikon’s exposure guide explains the relationship.
The number is a useful starting point, although films with the same ISO can have different grain and contrast. Slower films generally have finer grain, as ILFORD’s film guide explains.
Pick for the light you’ll actually have
| Film speed | A useful starting point |
|---|---|
| ISO 100 or 125 | Bright daylight, landscapes, or a camera on a tripod |
| ISO 200 | Mostly outdoor shooting in good light |
| ISO 400 | A day with a mixture of sun, shade and changing conditions |
| ISO 800 | Lower light when you need a faster shutter speed |
These are choices to try, not fixed camera settings. A dim room may still need flash, a wide aperture, or a tripod even with fast film. Check the meter before taking the picture.
Set the camera to match
If your camera has an ISO or ASA dial, set it to the number on the box. ASA is the older label you’ll see on some cameras. Cameras with DX reading can set the speed from the cassette. Check which film speeds your model supports.
Changing that dial halfway through a roll changes the meter’s advice. The film itself keeps the same sensitivity. If you want to try push processing, discuss it with your lab before shooting the whole roll.
Choose one film for your first outing and keep a few notes about the light. When the scans arrive, you’ll have something useful to compare with your exposure settings.